Between Joists
- This will divert most of water out of the deck area
( risk of leaks is coming from water at joist and aluminum corner ).
- Limitation: will not protect joist structure so as on top of the joists installation.
- Read and follow warnings on
https://goberco.com/products/warnings.html before each installation.
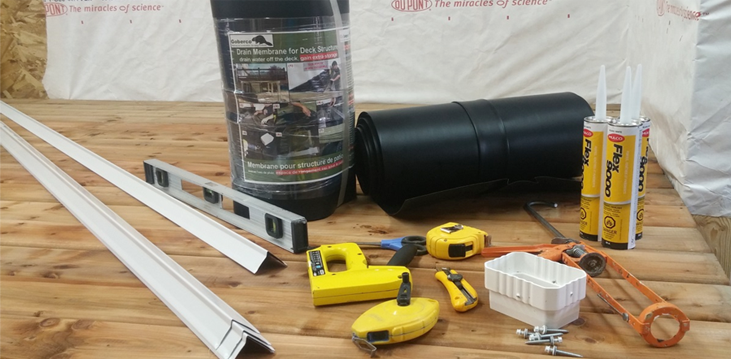
Material and tools:
Deck Membrane roll, 2'' x 2'' aluminum corner, window caulking, plastic run-out connector, neophrene washer roof screw, stapler, level, scisor, knife, chalk like, caulking gun.
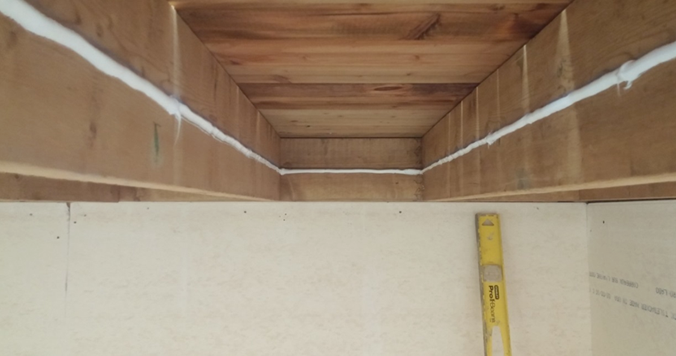
If joist are leveled you will need to slope the aluminum corner so as caulking strip.
Proper drainage slope is between 1/8'' per foot (1%) and 1/4'' per foot (2%).
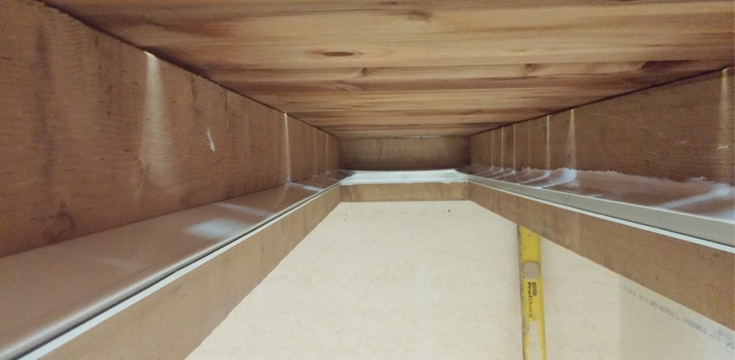
Install the aluminum corner (use stapler) over caulking strip.
To reduce chances of leaks, add caulking at the joist and aluminum corner junction.
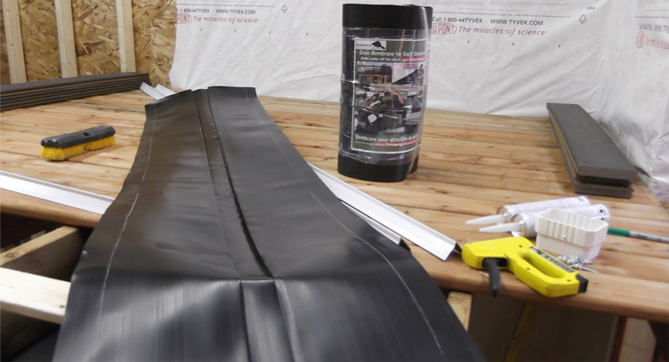
Cut the membrane at the desired length ( to cover ledger board and rim joist). The membrane will need to be fold so make a mark at 1.5'' on each sides.
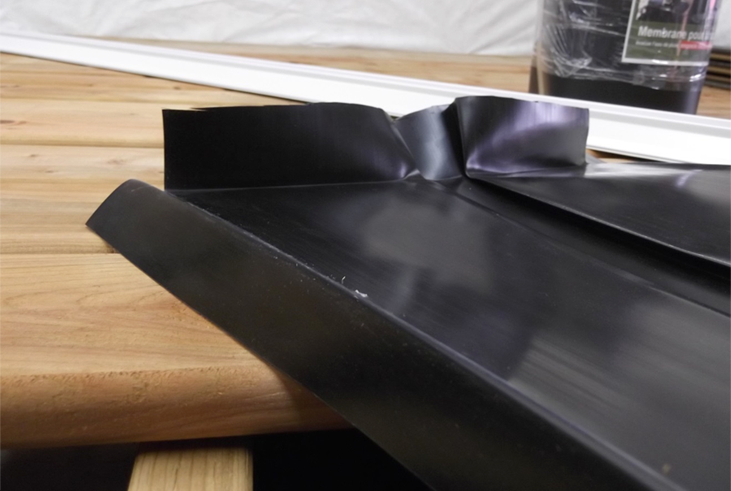
Fold the membrane as show ( these fold will be used to secure against the joist ). Goberco ASTM Low Density Poly Ethylene membrane can be fold without losing strength.
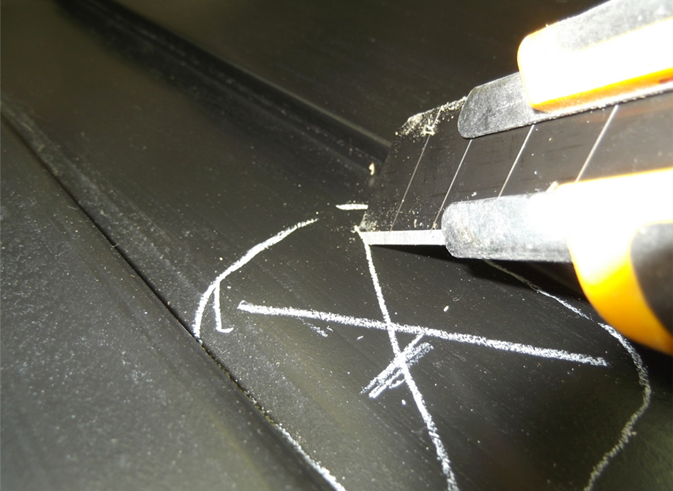
Install the plastic gutter run-out, start by making an X cut (make sure to not over cut). Mark is the inner side of the gutter run-out.
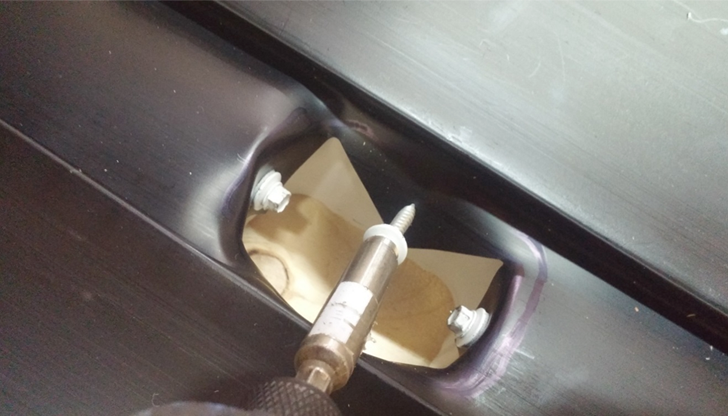
Secure the plastic gutter run-out to the membrane with 4 neoprene washer roof screws. We suggest to install the gutter run-out between 10'' to 16'' from rim joist.
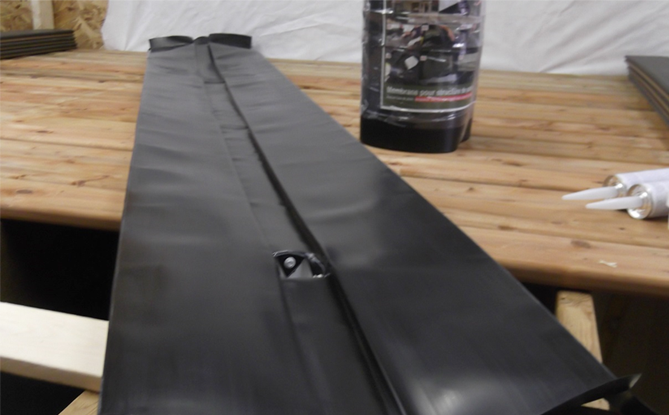
The membrane strip with 1.5'' folds is ready to attach between 2 joists by underneath
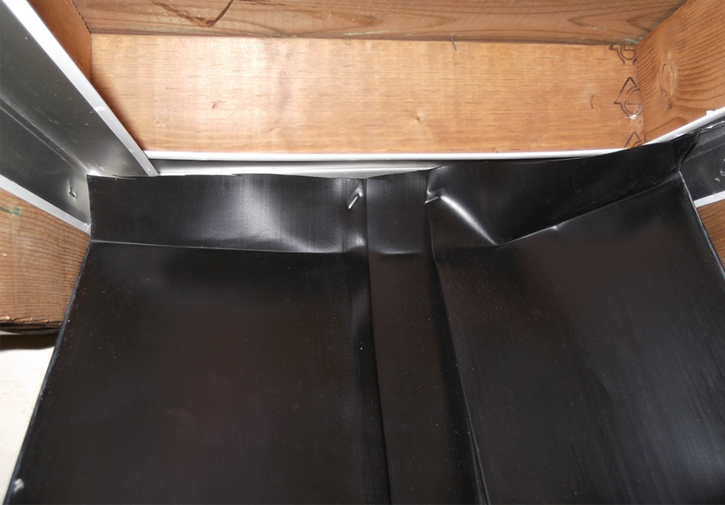
First staple the membrane against ledger board with Z folds in closed position.
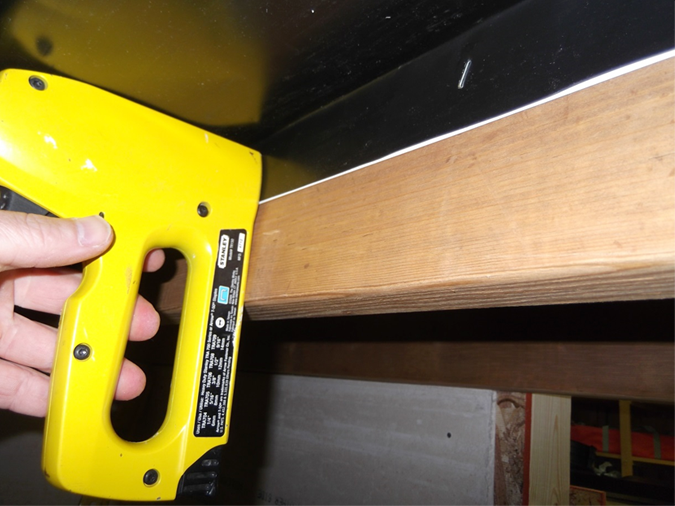
Staple the 1.5'' folds against the joists, membrane folds will meet the aluminum corner. Staple one side then the opposite Z folds against rim joist then the other side.
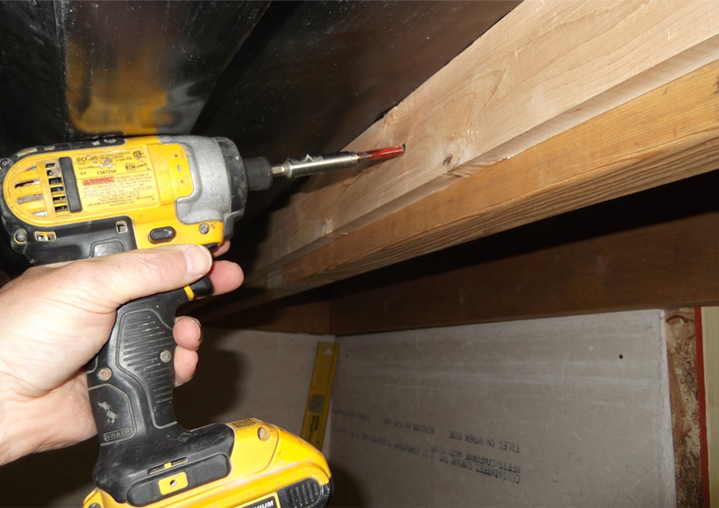
Screw a 1'' x 3'' over membrane folds and against the joists to support potential load (water, debris, ice…) or under high wind conditions.
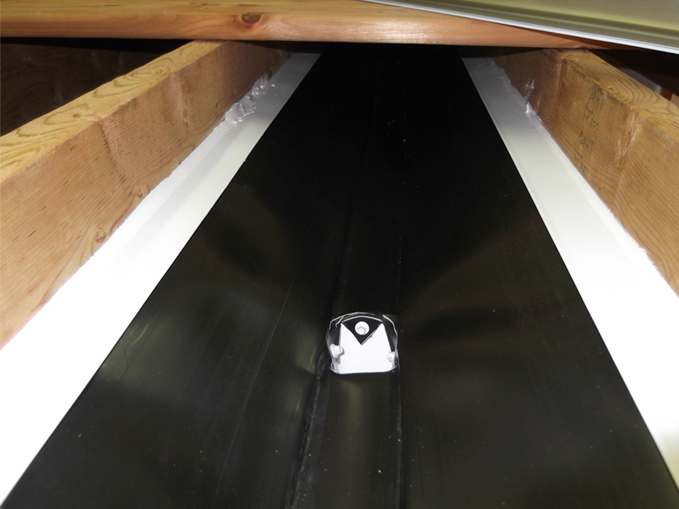
We pulled out some deck boards to show a top view of the drain membrane in place.
 CANADA (en)
 CANADA (fr)
 USA (en)
